
How to use your timesheets - click on your name (top right) and select Timesheet.
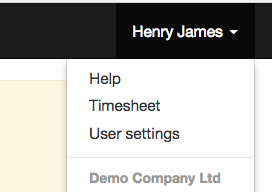
Start the day:
At the beginning of the day, click on your Timesheet and Start time
OR
just click start time on a contact or a job.

End of the day:
At the end of the day, click on your timesheet and stop time. (Hint: You can simply click on the time beside your name to return to your timesheet)

Note: Admin users: You can set the standard hours of work in client settings (Admin system). Example: If you set as 8.0 hours, the time clock will stop recording after 8.0 hours. A message will ask the user if they want to continue, they can select yes to continue recording longer.
Record time working for a customers:
If you have a job sheet simply click start time and when finished click stop time
OR
When you are looking at a customer detail page click start time and click stop time when finished.
Hint: When you are ready to start working on a different customer, simply click start for the new customer (this will automatically stop the recording for your previous customer).
If a project has been selected in your job sheet, your time will automatically be allocated to the project.
Your time will appear at the top of your screen (beside your name), just click on the time to get back to the place your time is being recorded.
Your timesheet will show all of the jobs that you work on during the day, it will show the start time and the time elapsed. Also you can see what you were working on when the time was recorded (click on the name of the job sheet or contact name to navigate back). The green dot shows where you are currently working.
Breaks
To record a break, click and select 30 / 60 minutes. This will count down the break time and automatically restart time recording after the break is finished. If you need to resume time recording sooner just click the resume button.

Comments