
Invoices
2 x main ways to prepare invoices
1. From a job
2. From the contact detail page (items only)
1. From a Job
Click on the name of the job to open the job sheet. In the Actions menu there are 2 x options.
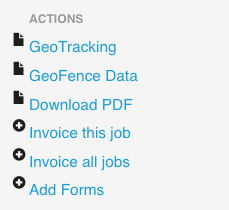
Invoice this job
This will prepare an invoice for this job (on this day only).
Invoice all jobs
This will prepare in invoice for all jobs with:
1. The same contact (same customer)
2. The same job address
3. Only jobs that have not been invoiced previously will be included.
This is helpful when you have a job which might take several (or many) days to complete.
When preparing the invoice all jobs will be checked to see if they have been invoiced previously.
If you have been using jobs for a while and then begin to use invoicing you can restrict the number of days in the past that will be included in the invoice. Set the number of days in Client settings (Admin system). By default this is set to 45 days.
If you find that jobs have been included that you want to remove click on Edit the jobs in the invoice. Then you can select the jobs you want to remove.
Select the method to create the invoice

Once the invoice is created click on view invoice

This open the invoice. Check the invoice is presented how you want it to appear.

Options:
Click Approve to finalise the invoice.
Edit the descriptions on the invoice.
Click on Edit jobs in the invoice (used for Invoice all jobs - click and select jobs you want to remove)
Back to the job details - to change the method to prepare the invoice or to add items missed (use recalculate this invoice).
After you click Approve there are two options:
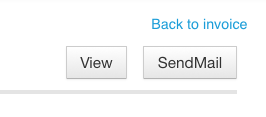
1. Send Mail - this will email the invoice (as a PDF attachment) to your customer. You will receive an onscreen confirmation that the email has been sent.

2. View - (not available in the android or IOS apps) this will download a pdf of the invoice for you to print and post.
2. Invoices prepared from the contact detail page
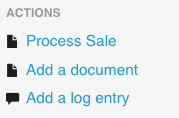
When you have the contact detail page open, in the Actions menu (on the right on a desktop or at the base on a mobile), click on Process Sale.
For a new sale choose Yes

Now click on the invoice number and items to be included on the invoice. Click on Add items. This will also update the stock level records. Add the quantity to be sold and select items variants (colours / sizes) as well as the warehouse that you want to dispatch from (these are all already completed by default, but you can edit if you want to).
When you have added the items you have the option to download and print a shipping document - View Sales Order. This can be used to send to a warehouse for dispatch.
Click on Prepare invoice and follow the steps above (these are the same procedures as preparing an invoice from a job). Only items can be added to an invoice when preparing from here (as time is usually added from a job), however you can also add hourly tasks as stock items so these can also be selected and added here.
Invoices (list)
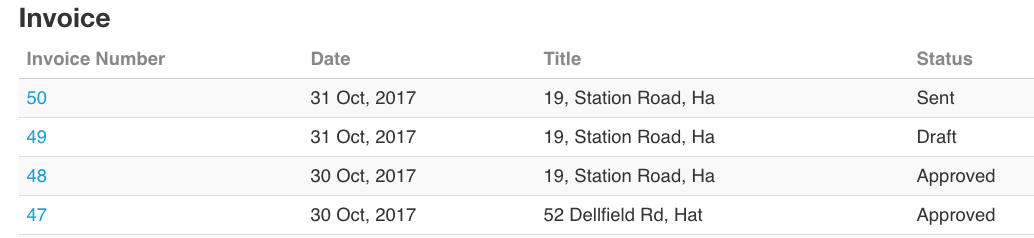
Click on the invoice number to view the invoice.
The status of the invoice appears on the right hand side Draft / Approved / Sent. The status is updated automatically.
Download a list of invoices (to import into Xero / Sage / Quickbooks or any other accounting system)
At the base of the invoices (list) page click on Download invoice data as CSV (Comma Separated Values in a spreadsheet format). This list can be used to import into your accounting system.
Select the from date and all invoices from that date will be included. There is also an option to download invoices depending on the invoice status (select All by default).
Payments on invoices
To record payment received on invoices open the invoice and add the payment at the base of the page.

Accounts receivable (Invoices owed to you)
To see a list of invoices that are still owing to you click on Reports in the invoice tab. This list is automatically updated when a payment is recorded as received.

Comments